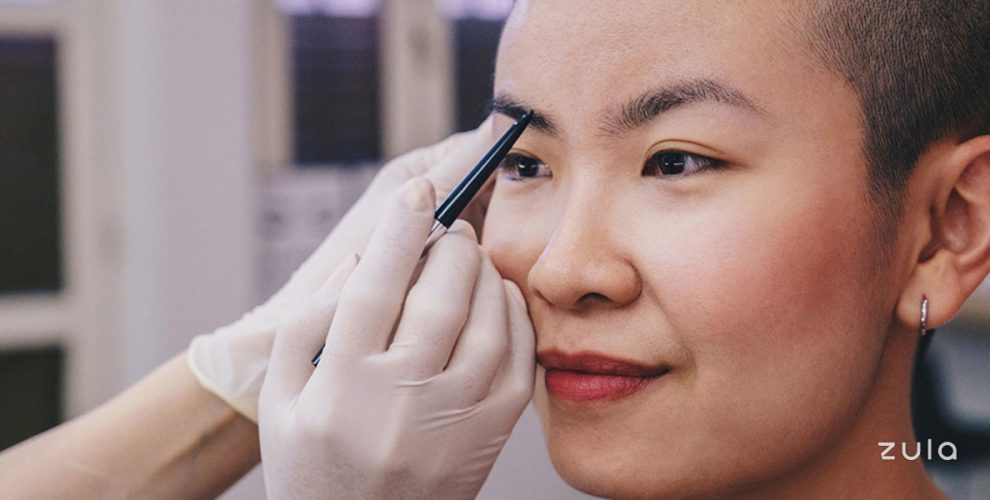
A2i Makeup Brow Embroidery Treatment
My eyebrows are the pillars of my face. As someone with a pixie cut, I rely heavily on a pair of groomed arches to define and pull my look together for a polished appearance.
Since genetics didn’t bless me with Cara Delevingne’s gorgeous caterpillars, I turn to my daily makeup arsenal to fake some face-framers. Having tried pencils, powders, pomades, tints and gels, I’ve learned that nailing bold, even brows is incredibly tricky and time-consuming.
So when I was offered the chance to try A2i Makeup’s Brow Revitalisation treatment, I said yes to the idea of a speedier morning routine and headed down to its beauty studio nestled along Joo Chiat Place.
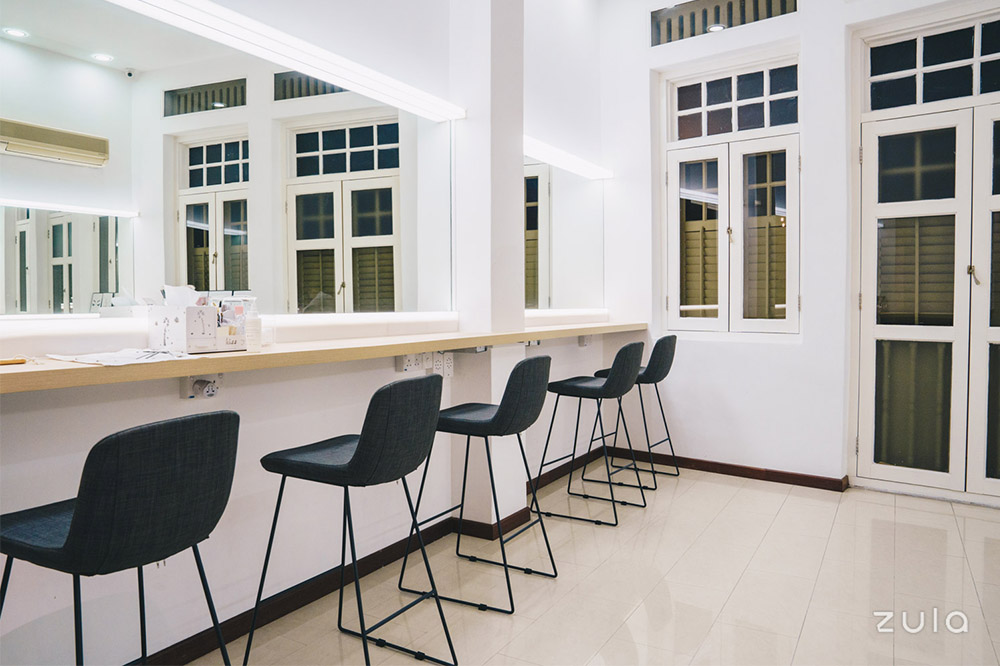
A2i Makeup’s beauty studio
What is the Brow Revitalisation treatment?
More commonly known as brow embroidery, A2i Makeup’s Brow Revitalisation treatment is a form of microblading, except the process involves implanting pigment beneath the surface of the skin using tiny disposable needles.
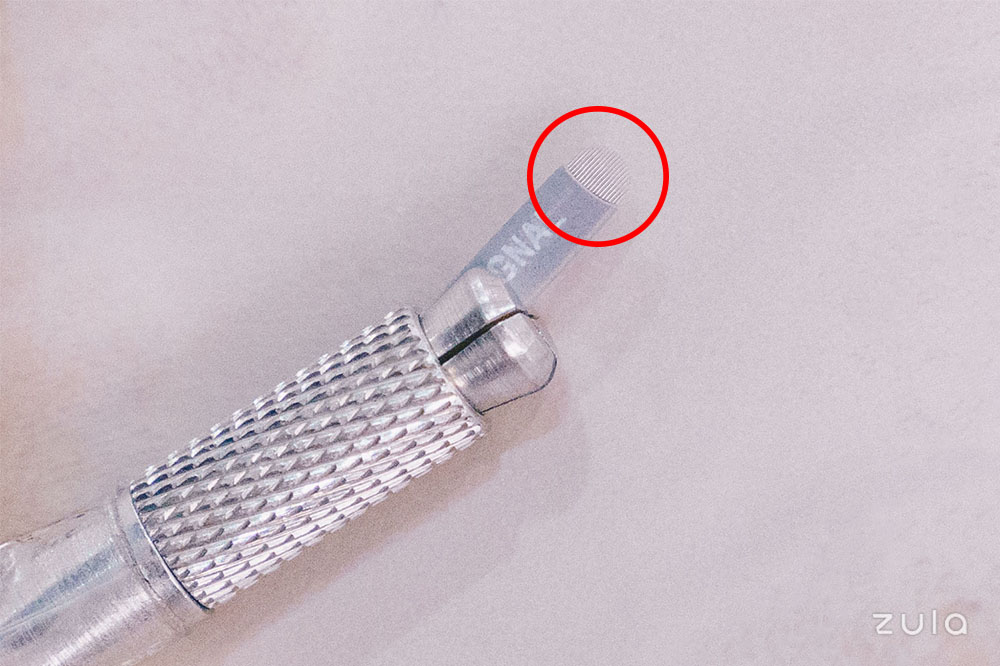
The blade of tiny needles
Small, shallow cuts will be made to mimic hair-like strokes, giving sparse brows the appearance of natural thickness and volume.
Before we went ahead with the procedure, my brow artist informed me that the session would take 1.5 to 2 hours in total, starting with a quick consultation.
Pre-treatment consultation
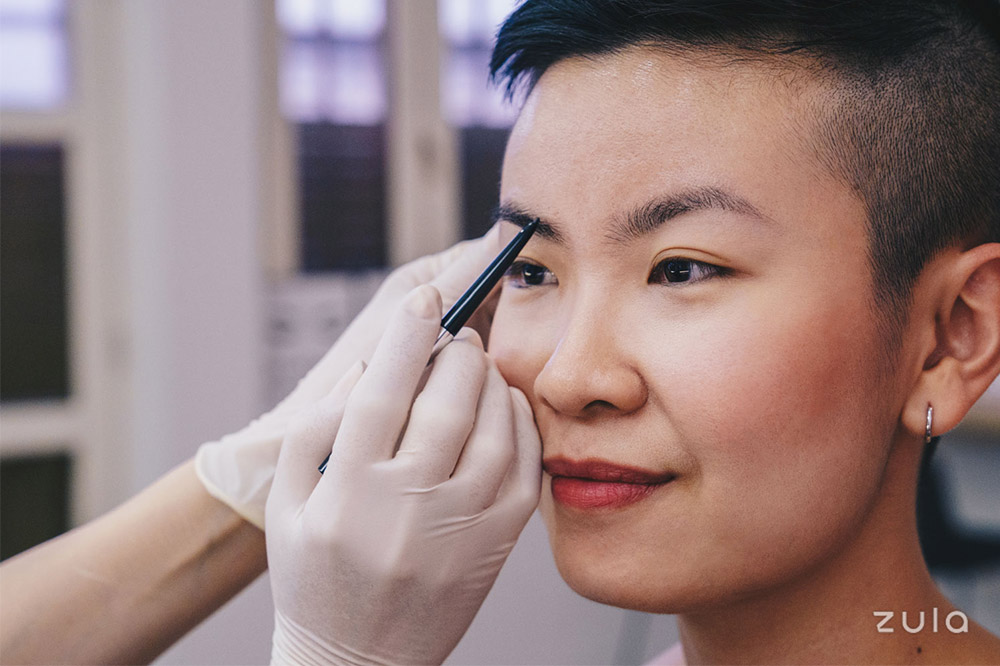
She began by designing and shaping my brows with a fine-tipped brow pencil.
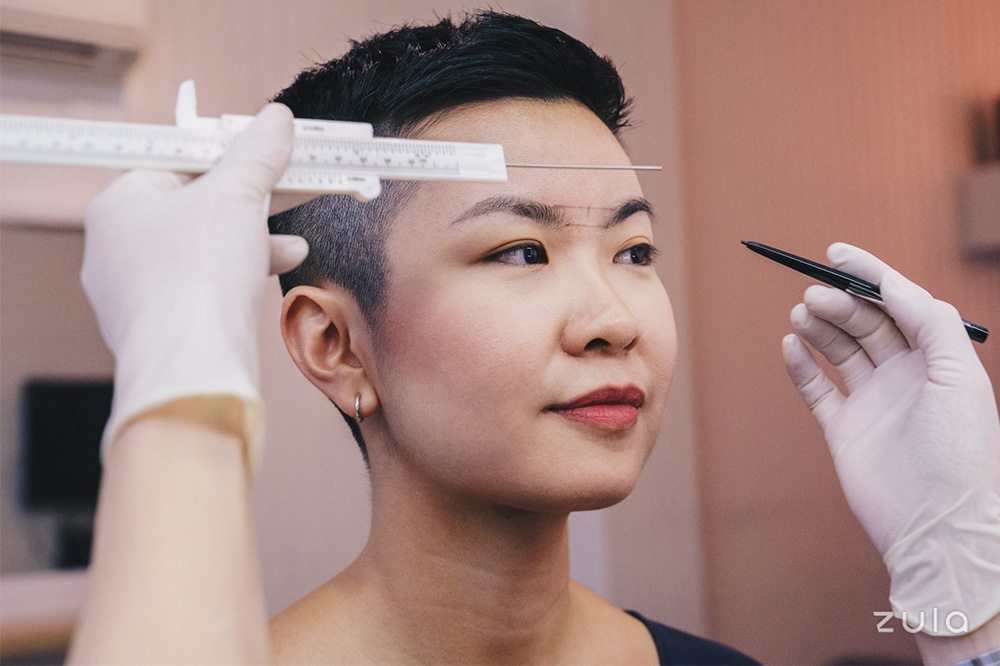
My brow artist then whipped out her measuring equipment to make my arches a little more symmetrical. “Your brows should look like sisters, not twins,” she said. I drew inspiration for my next Halloween look as she connected my brows; Frida Kahlo, here I come.
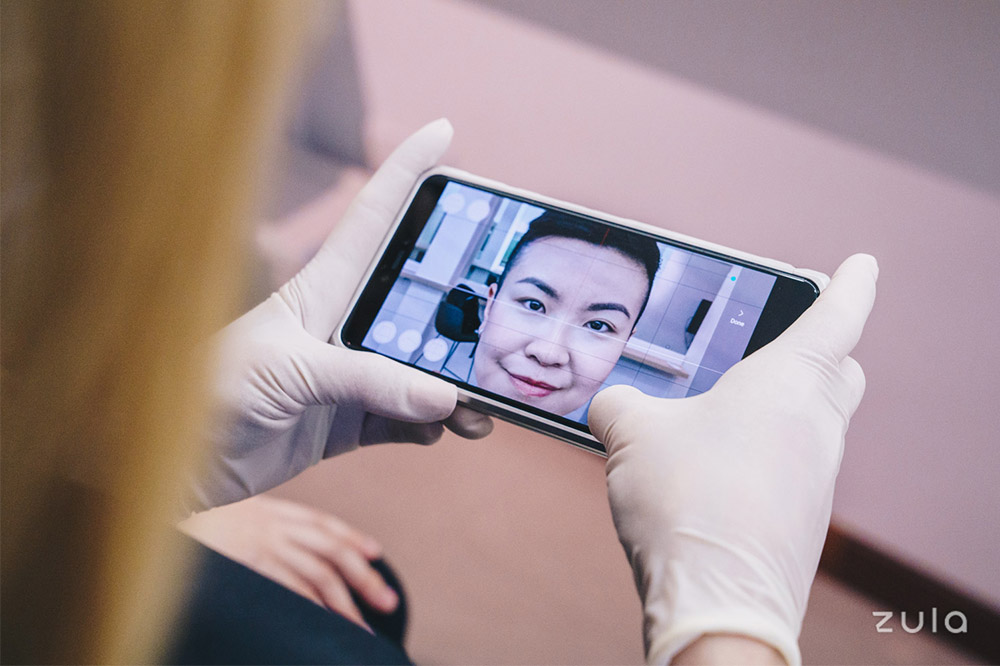
To ensure we were all set, my brow artist snapped a picture and checked it against the precision grids in a phone app. Unfortunately for the rest of us brow maniacs, the app is only available to licensed brow technicians.
Prepping my brows
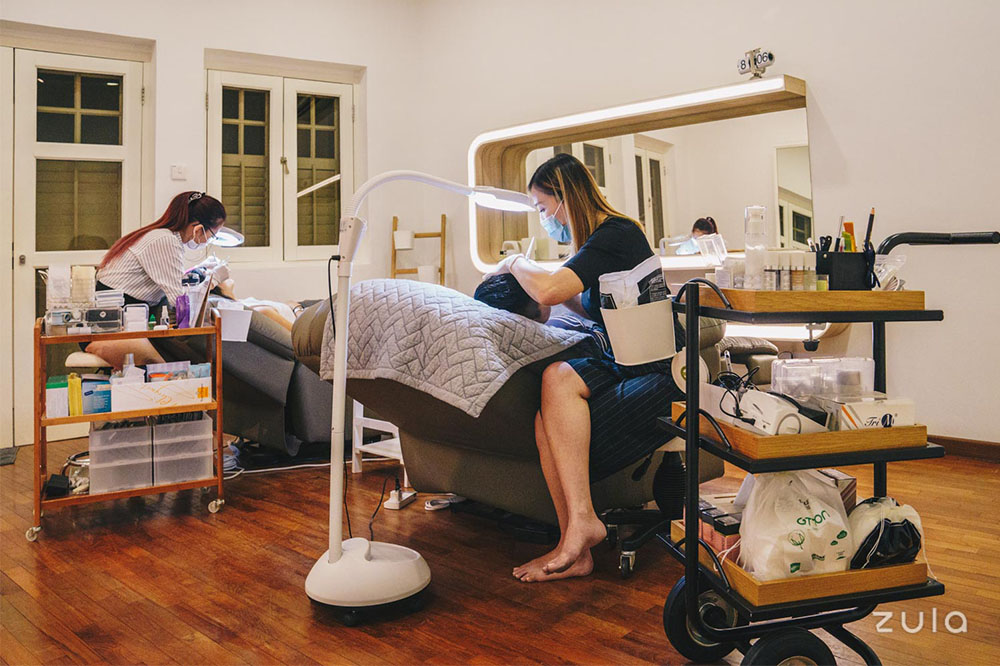
Once the shape of my brows had been determined, she led me to a cosy, minimalist room, where I made myself comfortable on one of the recliner sofas.
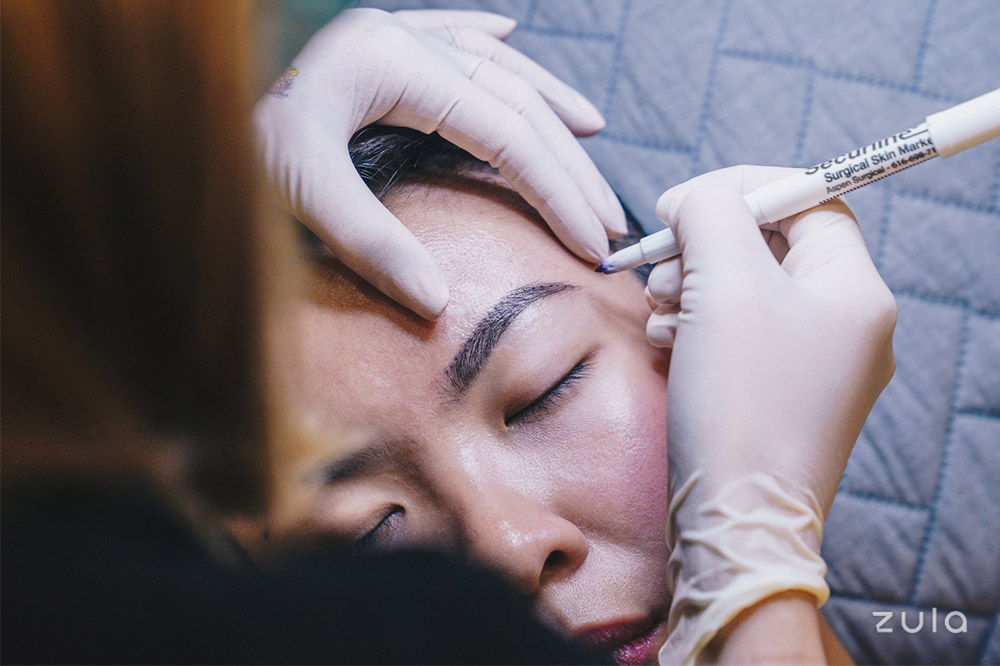
She dotted points along my brows with a surgical skin marker to indicate the points of incision.
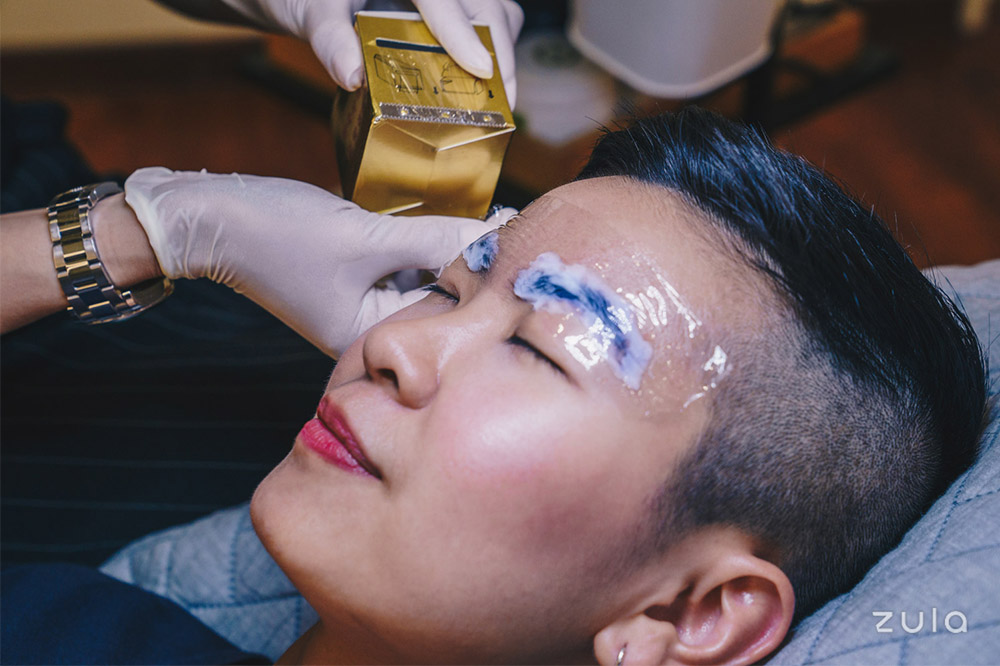
Next, she coated my brows in numbing cream to take away any pain during the procedure. Allowing the cream to take effect, I lounged in the comfy chair for 30 minutes.
During the treatment
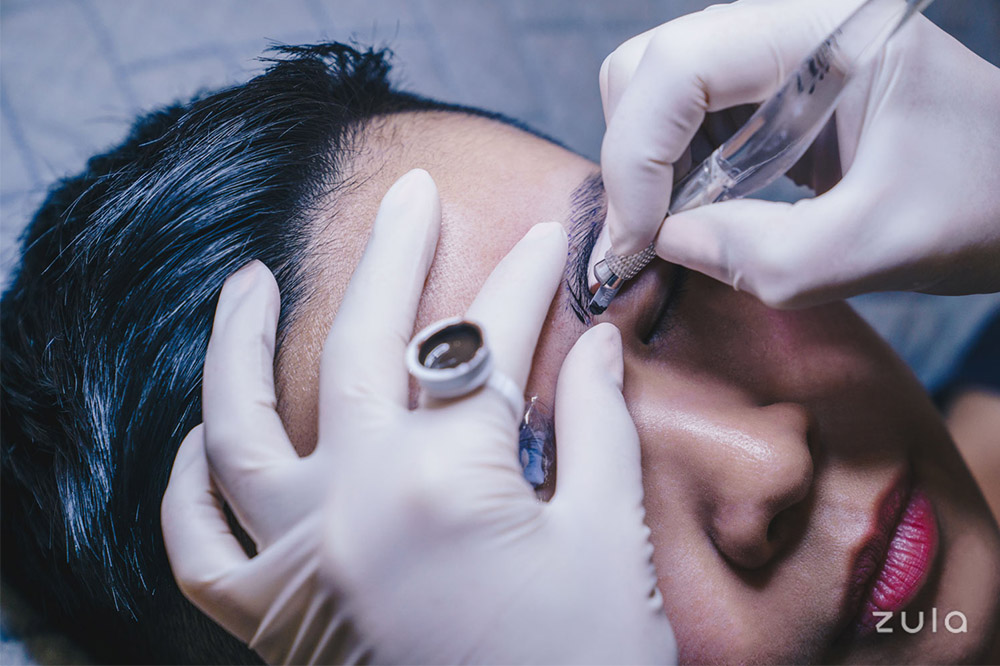
I felt a fine point scratching upwards in a diagonal motion at the front of my brows, then down towards the tail ends. There was no pain or discomfort at all. In fact, it was quite a relaxing session.
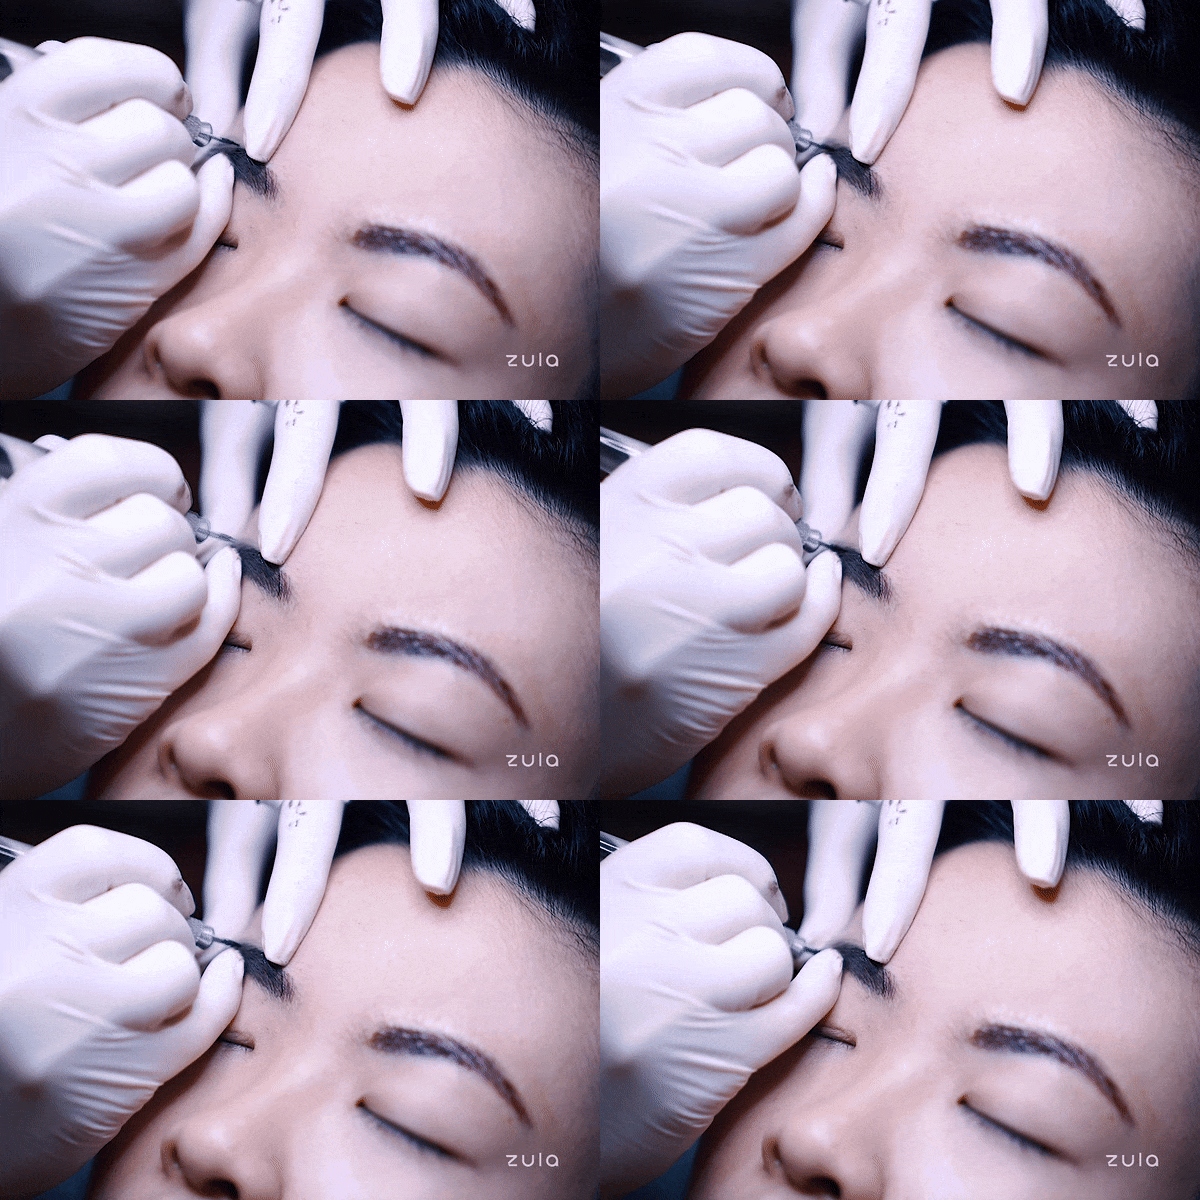
After she did a round of embroidery on each brow, she applied numbing cream on my brows again. There was a very slight stinging sensation as she went over the open micro-cuts, but it soon dissipated. My brow artist then added a few more strokes to my brows to balance them out.
The healing process
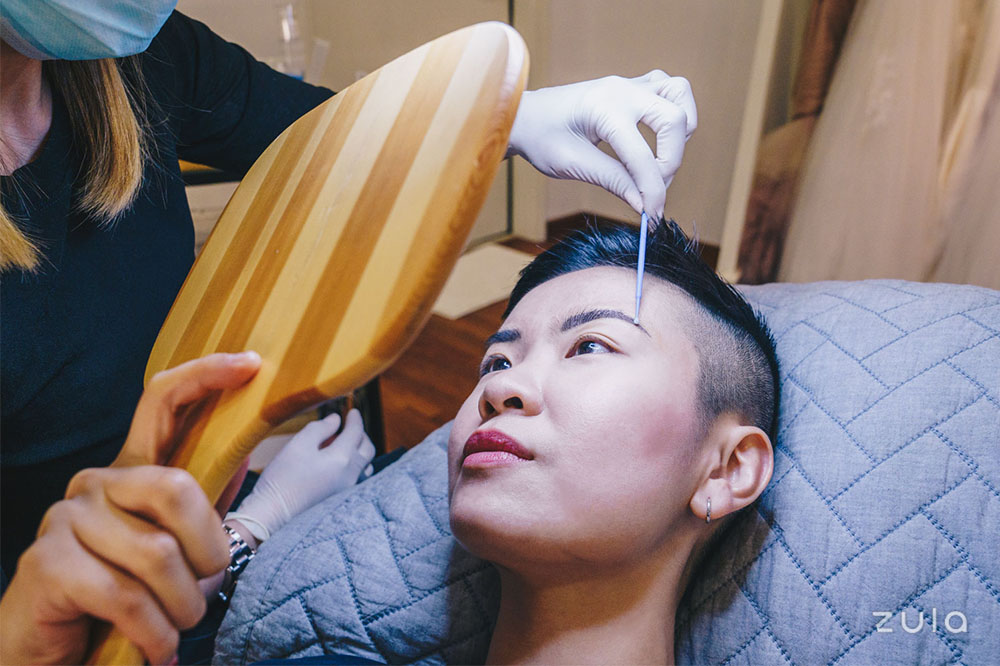
Minutes after the procedure, a mild soreness settled on my brow area as the numbing cream wore off. My brow artist slathered a protective balm on my brows and told me to let the ink settle into my skin for 7 to 10 days.
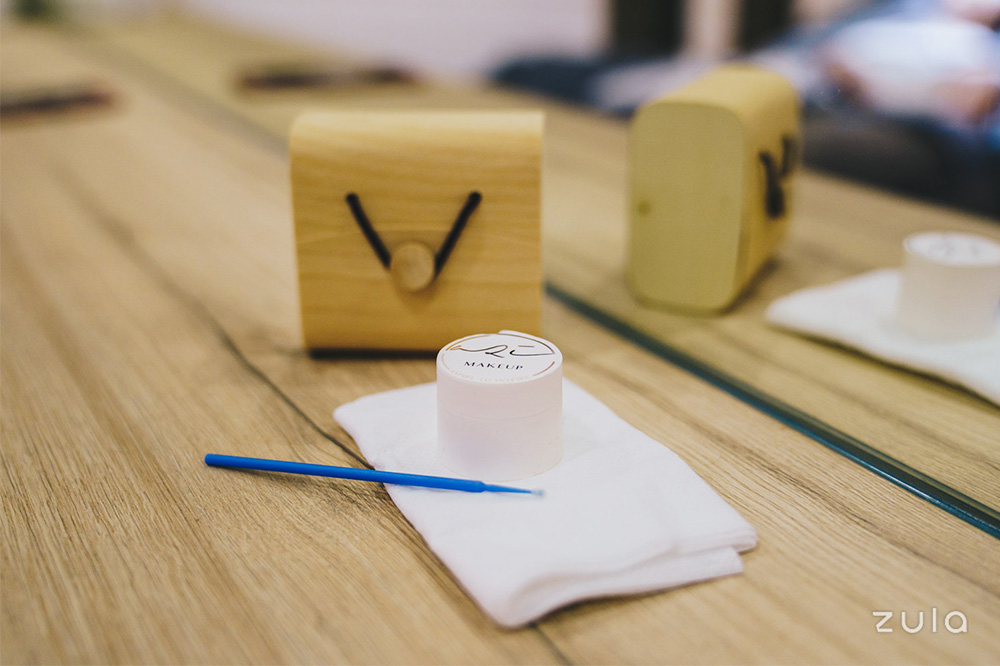
The post-treatment care kit
A post-treatment care kit was handed to me to help expedite the healing process. For the next week or so, I used the swab to apply the Vaseline-like balm on my brows, morning and night. I also smoothed a small amount over my brows whenever they felt itchy.
I‘ll admit: I’m a notorious scab-picker. For the sake of perfect brows, however, I resisted the urge to lift the pigment off prematurely.
As it was best not to get water on my brows while they were healing, my daily cleansing routine had to be tweaked as well. Micellar water replaced my cleansing balm and face wash, so I used a cotton pad to swipe off dirt and makeup on my face while carefully avoiding my brow area.
The results after a month
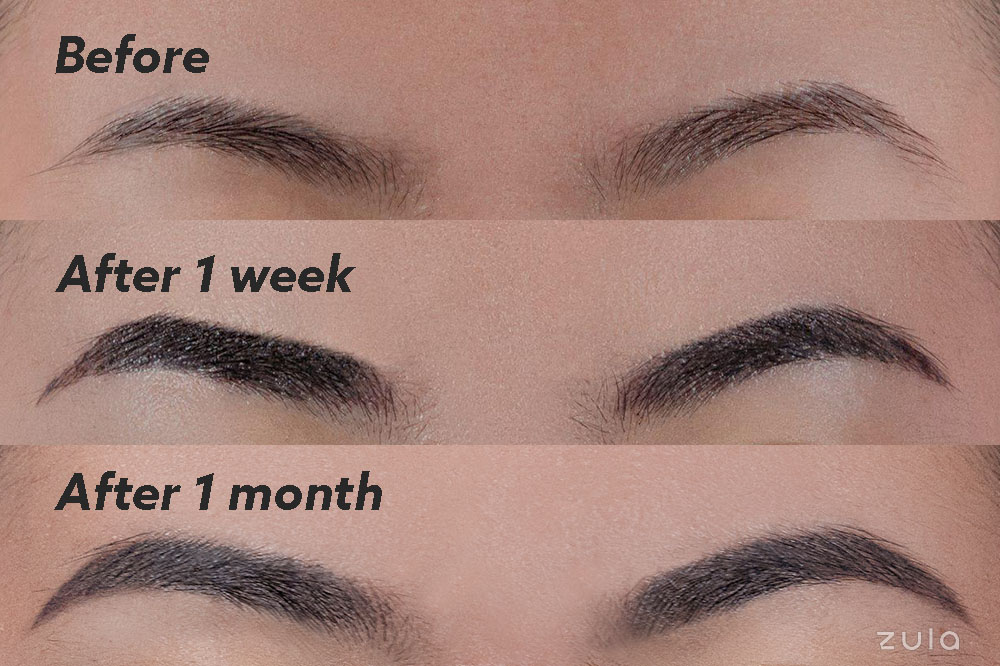
A week later, the brow pigment started to scab. Tiny black flakes were visible, but I was advised not to peel them off. Instead, I reapplied the prescribed balm over them, gently removing the excess bits that had fallen off.
When my brows completely healed after 10 days, I noticed some parts of my brows weren’t able to absorb the ink well. Thankfully, A2i’s Brow Revitalisation treatment comes with a complimentary touch-up session, so I went back to the beauty studio to get patchier areas filled in.
The results of A2i’s Brow Revitalisation lasts 12 to 18 months, and depending on several factors such as your skin type and how often you exfoliate, the pigment may fade slower or faster.
Brow Revitalisation review
Before the Brow Revitalisation treatment, the tail-ends of my brows were nearly non-existent. Now, they look bold and defined, just how I like them. I don’t have to spend 15 minutes every morning trying to balance and perfect them—a major convenience for me.
The Brow Revitalisation treatment costs $880, and A2i Makeup provides a complimentary touch-up session too, which you have to redeem within 3 months of your initial treatment. Subsequent touch-ups will cost you $380 per session.
When it comes to brow embroidery services in Singapore, it can be difficult to locate an exceptional salon below the price of $1,000. So if you were born with barely-there brows or you’re looking to add thickness to sparse areas, try A2i Makeup’s Brow Revitalisation.
To book an appointment, you can drop the A2i Makeup team a call or an email before visiting the studio.
A2i Makeup
Address: 42A Joo Chiat Place, Singapore 427766
Telephone: +65 9004 4378
Email: enquiry@a2imakeup.com
A2i’s website
This post is brought to you by A2i Makeup.
Also read:
15 Eyebrow Embroidery Salons From S$188 For Singaporean Girls To #Wakeuplikethis

