
Eyebrows Tutorial For Beginners
Much like a hairstyle, your eyebrows can make or break your entire face. When your brows are groomed, they highlight your best features and lend a boost in confidence, so you look like you’ve got your shit together.
Not all of us have mastered the art of brow grooming, though. If you’re constantly forcing your sparse brows into a straight trendy K-beauty shape, know that two harsh blocks of brown aren’t going to flatter everyone, so let’s change that.
Today, we’ll show you how to work with the natural brow shape you were blessed with, and how to make them look much fuller than they are.
Contents
Step 1: Identify stray hairs around your eyebrows
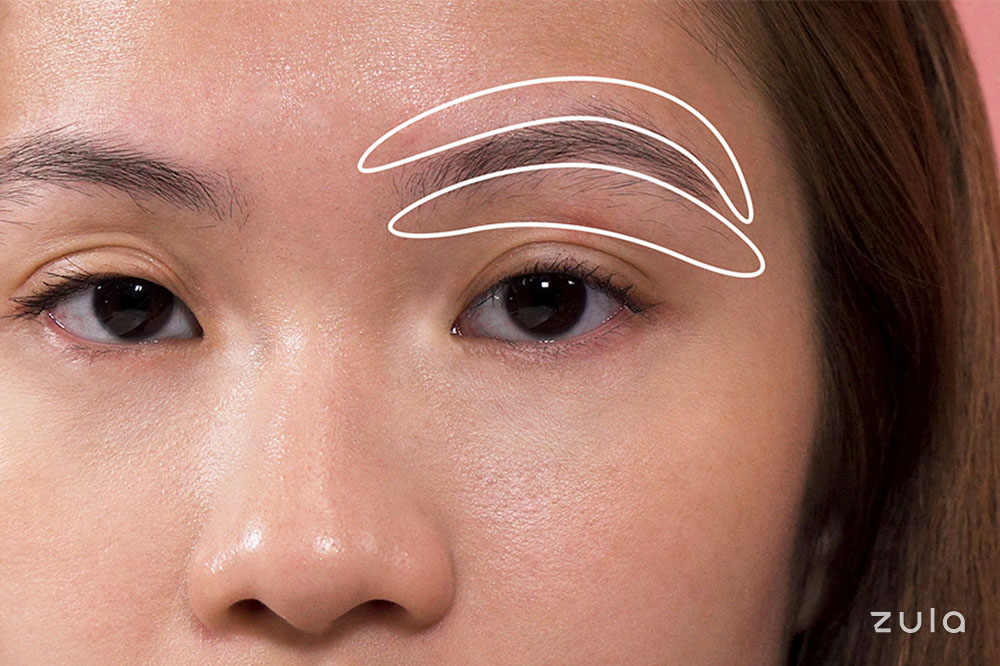
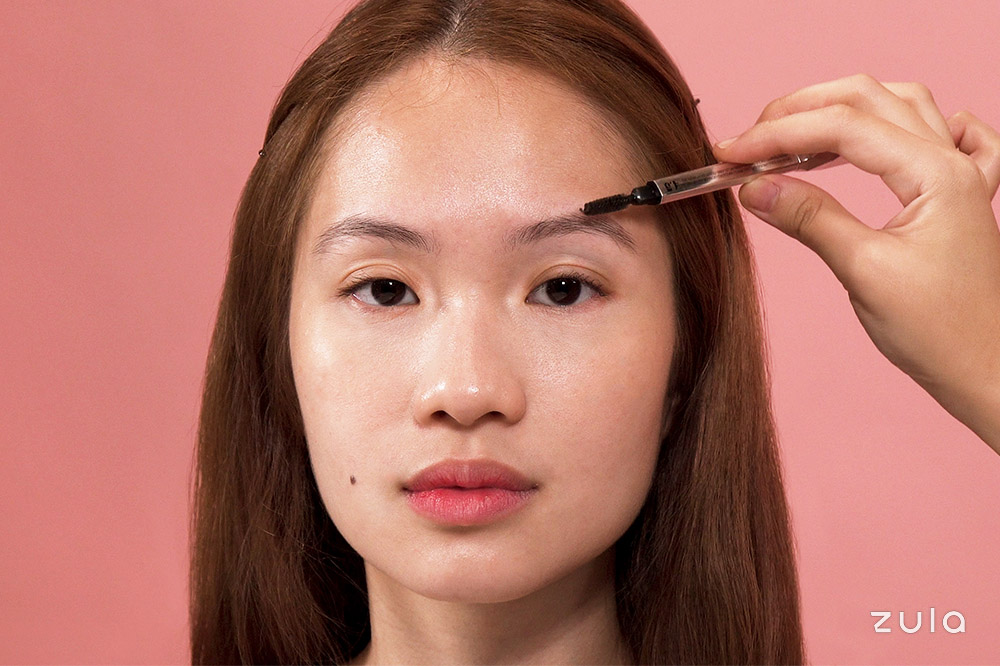
Before you reach for the tweezers, take a good look at your eyebrows and identify stray hairs around it. If you need a visible demarcation as a guide, use a white pencil liner to outline your brows to create a stencil.
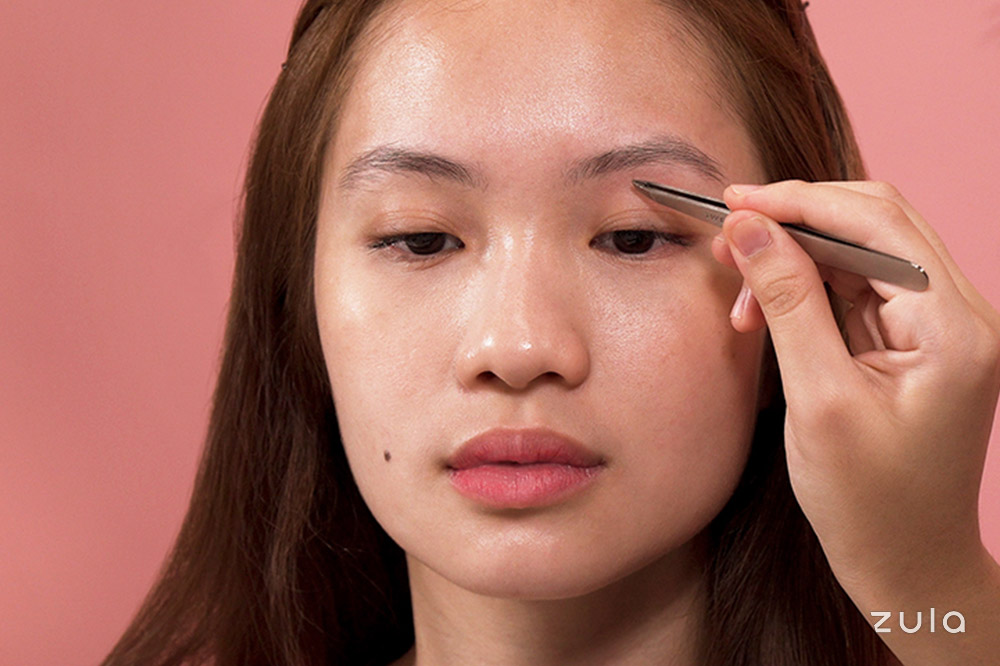
Step 2: Tweeze stray hairs
Product used:
Tweezerman Stainless Steel Slant Tweezer
Place your mirror at a comfortable distance that’s not too close to your brows, and make sure you’re in a well-lit area. With a pair of tweezers, pluck no more than two stray hairs at a time. Remove the excess hairs that fall under and a little above your arches.
Take a step back occasionally to check the balance of both brows before you continue. Remember, your brows are sisters, not twins. So don’t over-pluck to achieve perfect symmetry—you may end up with two tadpoles for brows.
If you’ve marked out your brow shape with a white pencil, wipe it off before moving on to the next step.
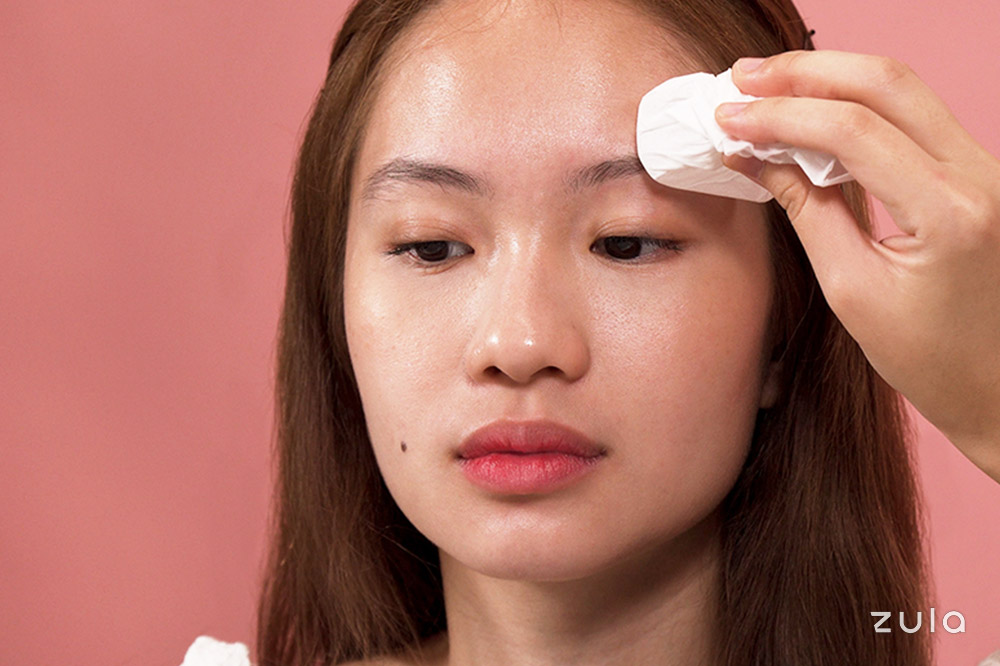
If you have sensitive skin that’s prone to redness, grab an ice cube, wrap it in tissue paper or a thin cloth and dab it over any irritation for about a minute.
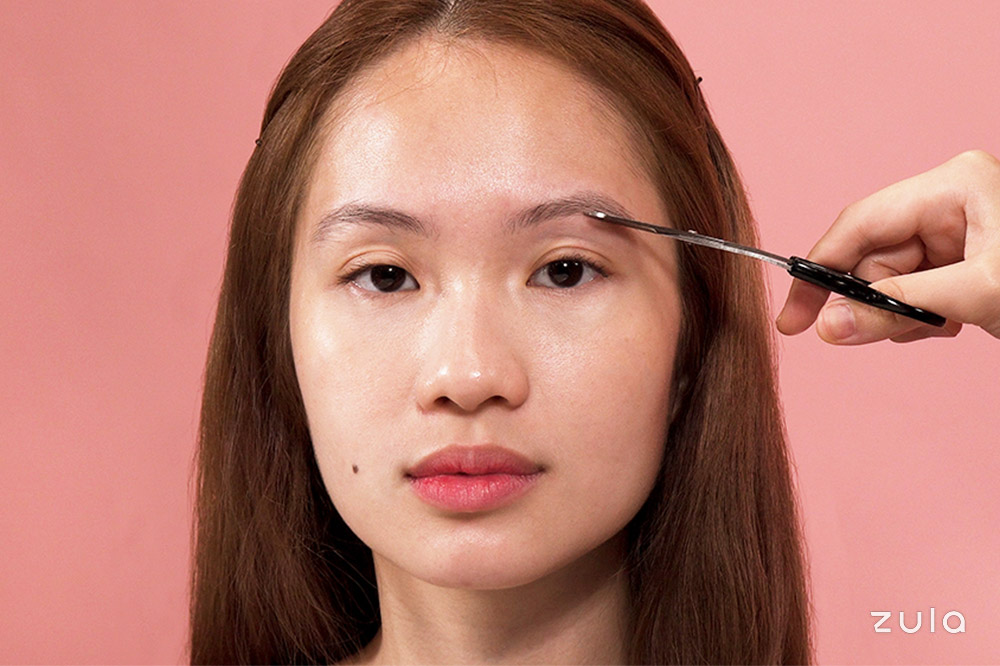
Step 3: Brush out brows and trim longer hairs
Product used:
Benefit Cosmetics Goof Proof Eyebrow Pencil in 4.5 Medium ($47)
Using the spoolie brush of a dual-ended brow pencil, brush your brows in the direction of your natural hair.
Product used:
Japonesque Brow Groomer Scissor And Comb Combo ($28.50)
Then, take a pair of brow scissors and carefully trim any longer strands that are poking out of line for a cleaner look.
Also read:
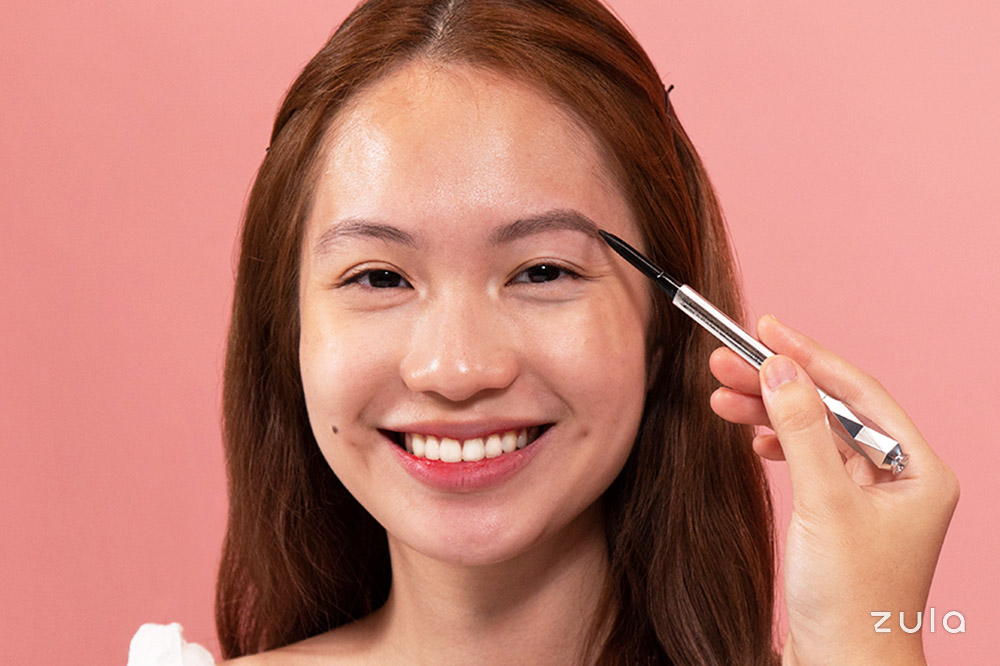
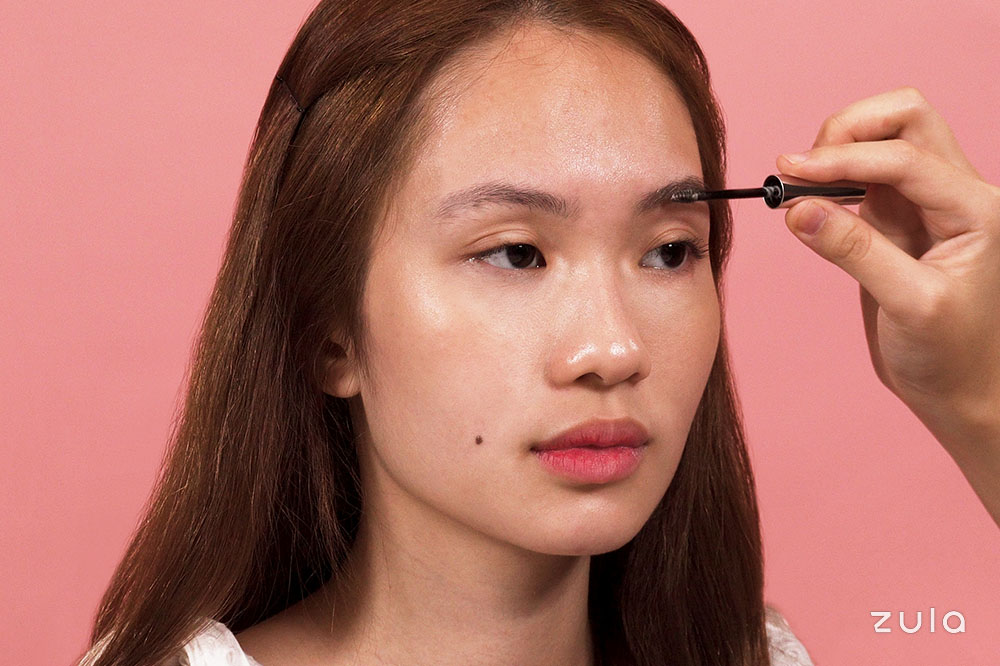
Step 4: Fill in your brows with a brow pencil
Product used:
Benefit Cosmetics Goof Proof Eyebrow Pencil in 4.5 Medium ($47)
You’ll notice the hair at the front of your brows grow upwards and gradually slopes down towards the tail ends. Using a brow pencil, imagine you’re adding more brow hairs by gently feathering in strokes following the direction of your natural hairs. Go lighter on the front of your brows to avoid a blockish look.
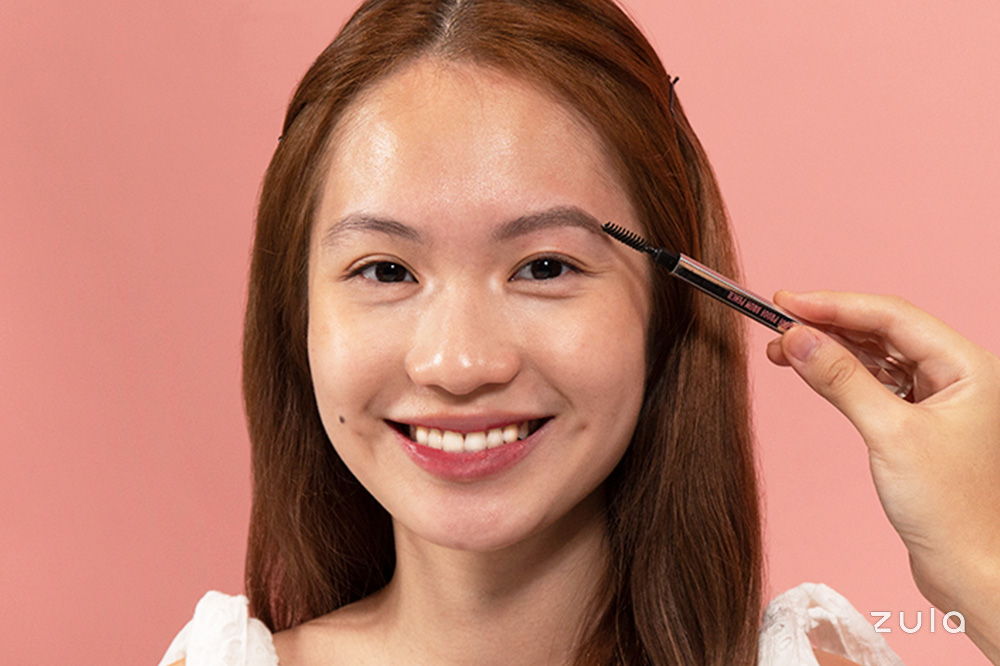
Step 5: Brush through your brows
Product used:
Benefit Cosmetics Goof Proof Eyebrow Pencil in 4.5 Medium ($47)
Use the spoolie end of the brow pencil to brush through your brows. This blends and spreads the pigment slightly to even out the colour on your brows.
Step 6: Apply a clear brow gel
Product used:
Glossier Boy Brow in Clear
Top your brows off with a clear brow gel like Glossier’s Boy Brow. This helps to define and hold your brow hairs in place, so they’ll stay put for the rest of the day.
Repeat these 6 steps on your other brow.
Guide To Natural-Looking Brows
Before you try out the aforementioned steps, let your brows grow out for 4 to 6 weeks. That means no tweezing, waxing or threading in between. This gives you more brow hairs to work with later, so it’ll be easier to find your natural shape. Those who want to opt for the easy way out can check out these eyebrow embroidery services in Singapore from $88.
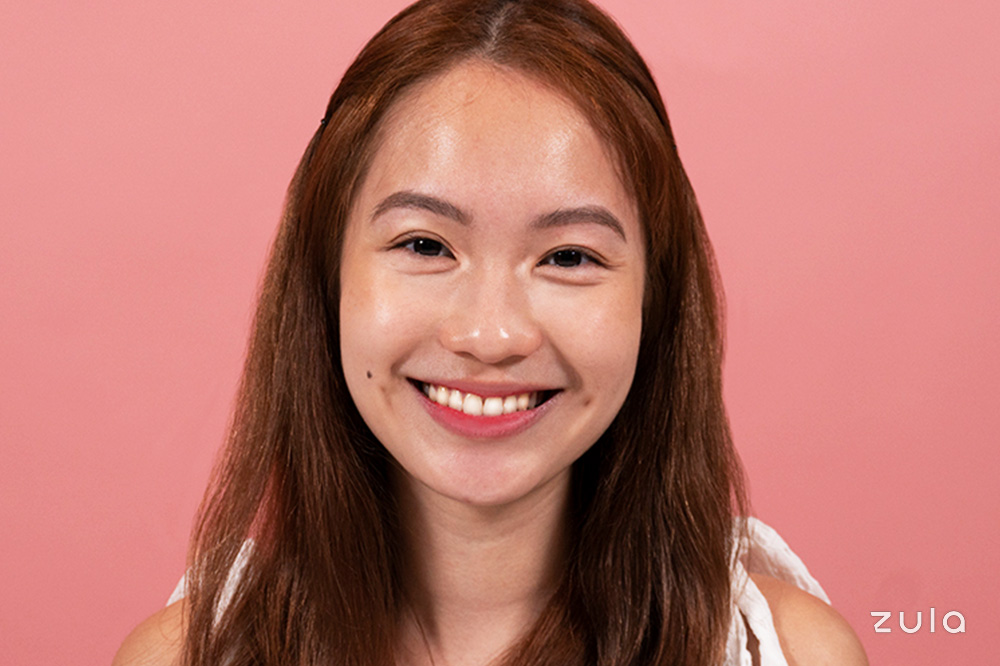
We hope our guide was helpful for your journey to better brows!
This article was first published on 26 April 2019 and last updated on 21 May 2024.
Also read:
10 Most Affordable Eyebrow Embroidery Services In Singapore From $88