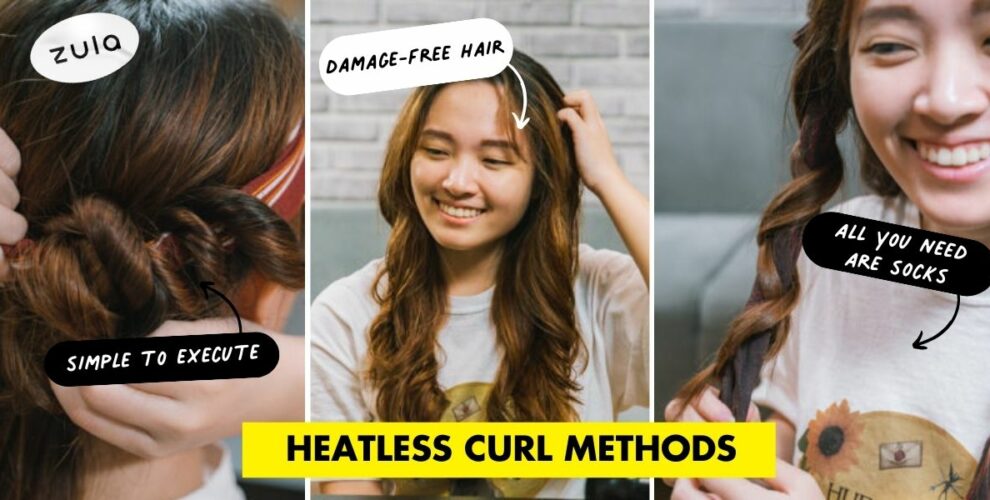
Heatless curlers for hair
Curling your hair can easily jazz up a boring hairstyle into a glam look like Son Ye Jin’s in Crash Landing On You. If your hair is usually flat and lifeless, up your hair game now by experimenting with ways to curl your hair at home, so you can debut your new hairdo at your next 5-friends-only meetup. While using a hair curler is a quick way to achieve your desired look, the device can be difficult to use and damaging to your hair. Do your hair a favour by skipping the hot iron and going for these heatless curlers that help you achieve gorgeous waves and healthier hair.
Should I use heatless hair curlers on wet or dry hair?
When using heatless curlers for hair, it’s always recommended to start with damp hair, as they’re much easier to style and will help hold the curls better. Avoid starting with completely wet hair because your hair may not be able to dry as fast, or worse, it could potentially lead to stringy and oily curls.
You can, however, still use your curlers on completely dry hair. Some styling tools may even require you to use their curlers on dry hair. However, note that the curls will come out looking much more loose and wavy than curly so if you’ve got pin-straight hair, they’re less likely to last as long.
How long do I need to leave my heatless hair curlers in for?
Wearing your heatless curlers overnight is generally recommended for the best results. The curls will become more defined and curly the longer you leave them on, and they’re more likely to last longer too. However, leaving them on for at least 2 hours should be sufficient if you’re short on time.
Best heatless hair curlers for healthy curls
From satin hairbands featured in Euphoria to OG velcro rollers, here are some of the most popular hair curlers to help you get started on your heatless styling journey.
1. Satin heatless curling hairband
Best for voluminous waves
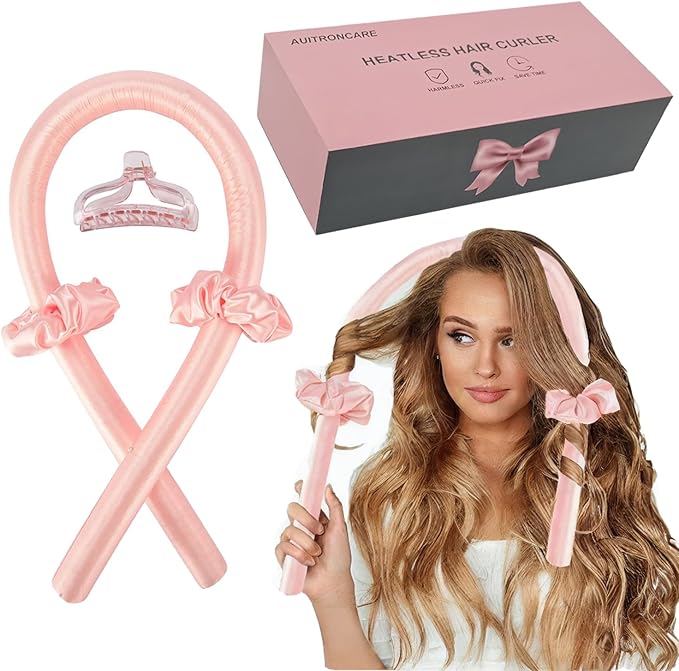
Euphoria fans will recognise this satin heatless curling set from Cassie’s extensive beauty routine. This heatless hair curler also went viral on TikTok for achieving soft and voluminous curls all while using one product, so there’s no need for pinning multiple rollers in your hair.
@kkkrrriista How to do Heatless curls 🩰🕯️🕰️ #heatlesscurls #haircurl #overnightcurls #foryourpage #fyp #hairtutorial
The process is also fairly simple. All you need to do is place the headband on your head and then braid each section around the band, wrapping them outwards. Once you reach the ends of your hair, tie each section with a rubberband to keep them in place. Leave them on for a couple of hours or sleep overnight with them to wake up to bouncy, natural waves in the morning.
2. Luckybear Overnight Heatless Hair Culer
Best for short to middle-length hair
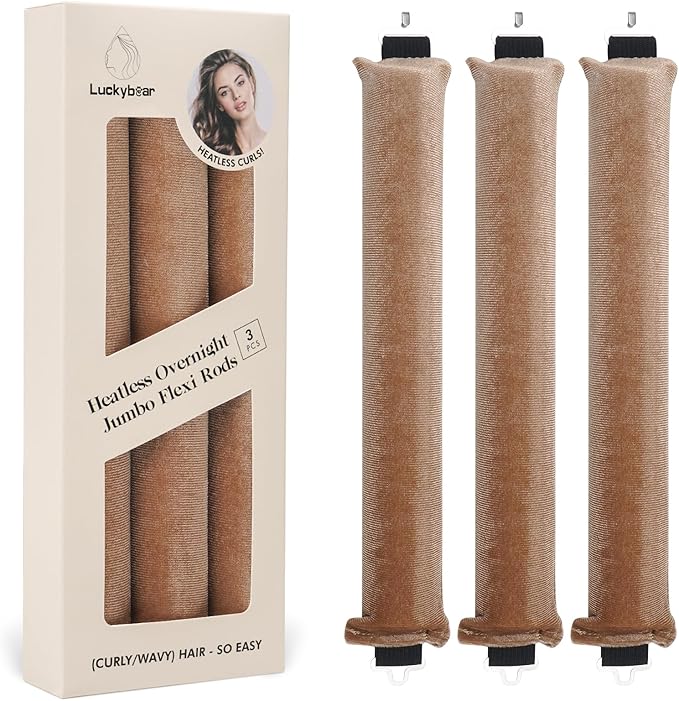
If you have short or medium-length hair, these Luckybear Overnight Heatless Hair Curlers are a good option for you. What distinguishes these flexi rods from similar products is their metal clasp hooks to keep the rods secured and prevent them from becoming loose and undone. They’re also made with a soft, flannel-wrapped material, which provides a better grip without snagging your hair.
@overnightblowout A full hair tutorial of how to use the Overnight Blowout by @Abigail Lin 😍🤎 Abigail is using the classics in brown on her medium length hair while doing the original OB method! Have more questions on how to use the OB? Drop them below or DM us! #theovernightblowout #overnightblowout #hairtutorial #hairblowout #heatlesscurls #heatlesshair #blowouttutorial #blowout
To use them, simply split your hair into 3 sections–start from the front before working your way towards the back. Wrap them around the rods and roll them inwards towards your scalp. Clip the clasp together and throw on a silk bonnet for shinier locks.
3. Velcro Rollers
Best for ‘90s blowout
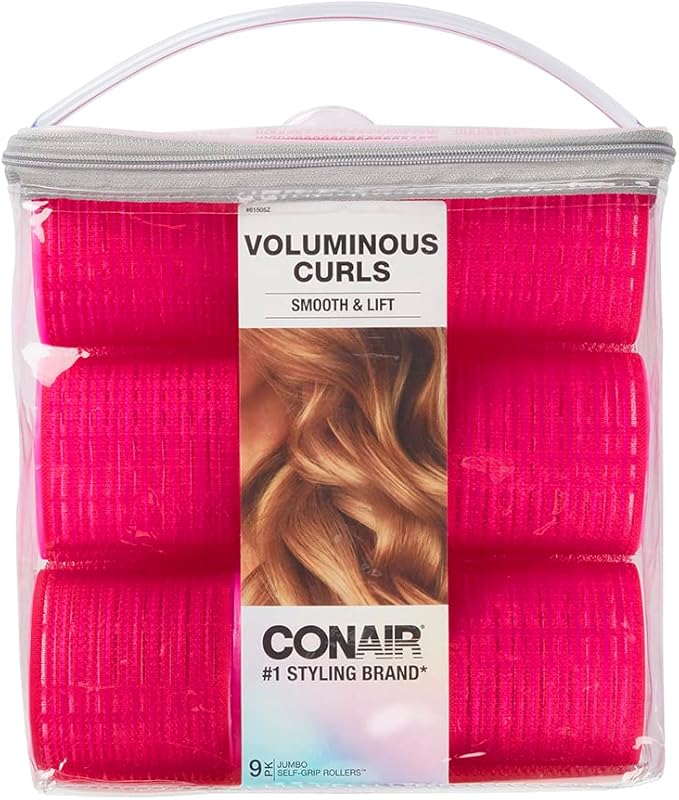
Velcro rollers are the OG of heatless hair curlers and were likely a go-to styling tool for our grandmothers back in the day. Even now, they remain a popular choice for creating salon-quality curls without breaking the bank. True to their name, these rollers are made with velcro material, which helps your hair stick to the roller, making it easy to keep each strand secure and in place.
Start prepping your hair with a volumising or styling mousse–this will give your locks a much better grip for your rollers to stick onto. Then part your hair into different 1-inch sections or whatever size fits into your hair roller. Grab a roller, pull a section above your head, and begin winding in the roller from the ends of your hair till it reaches the top of your head. Repeat this process for the whole head and remove the rollers after 2 hours or until your hair is fully dried.
DIY Heatless Curls, As Tested By Editors
You can also create your own heatless curler for hair using items you already have at home. Below, we’ve broken down some of our tried and tested methods to teach you how to get the best results.
4. For voluminous curls using a headband
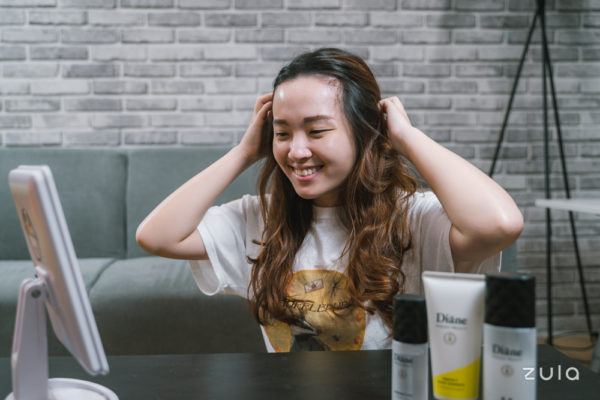
For those with little patience and skills to braid your hair, you can still get luscious curls with this headband curling technique.
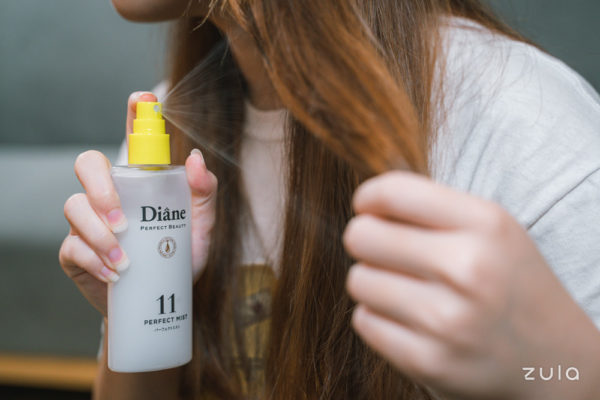
Step 1: Dampen your locks using a hair mist. In order to curl your hair without heat, having your hair damp helps the waves to form quickly. A hair mist also instantly hydrates and nourishes your hair before it gets twisted and pulled into a tight updo for the curls.
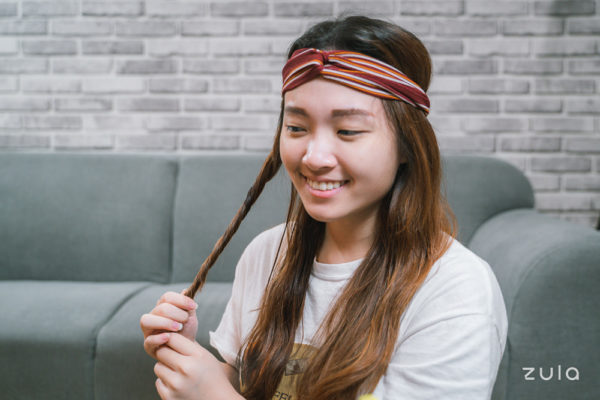
Step 2: Put on a headband. Take a portion of hair and twist it.
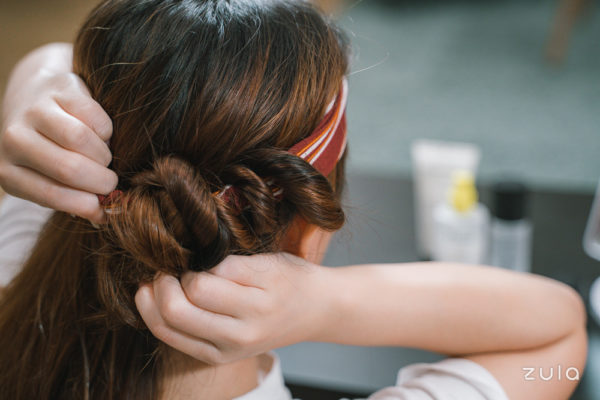
Step 3: Wrap the twisted hair around your headband, portion by portion.
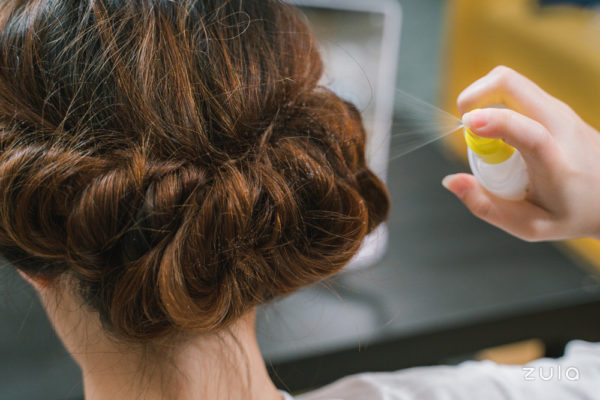
Step 4: Spritz more of the hair mist over the updo to set your hair.
Step 5: Once your hair is dry, remove the headband to reveal your voluminous curls.
5. For cascading waves using socks
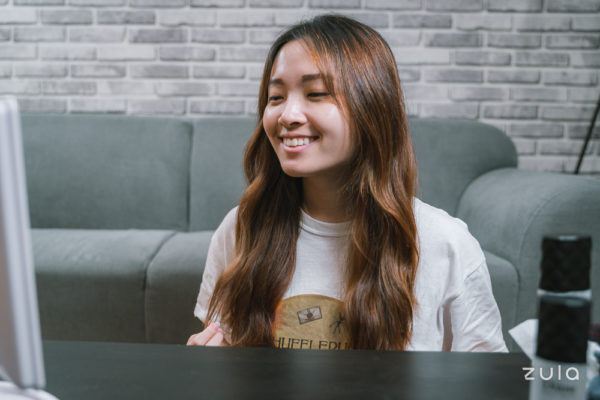
If these neat, cascading waves catch your eye, try this simple hair curling hack using an unconventional household item—socks.
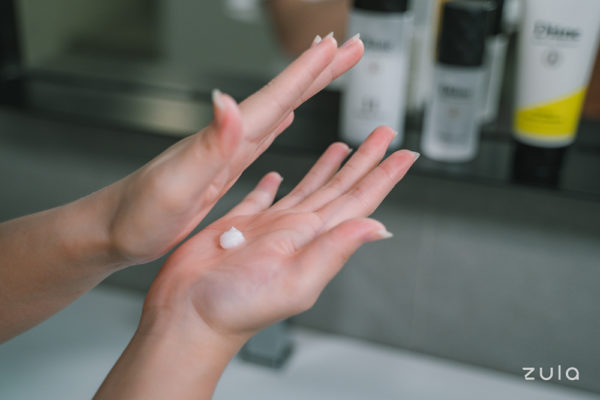
Step 1: Apply a lightweight hair serum on the ends to nourish your hair before you twist it up. This helps to lock in moisture for softer and smoother locks once you’re done.
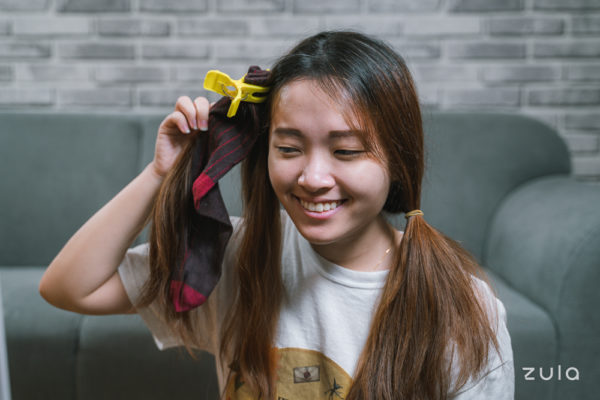
Step 2: Divide your hair into 4 sections. Use a claw clip to attach a sock to a section of your hair. The sock should be almost the same length as your hair.
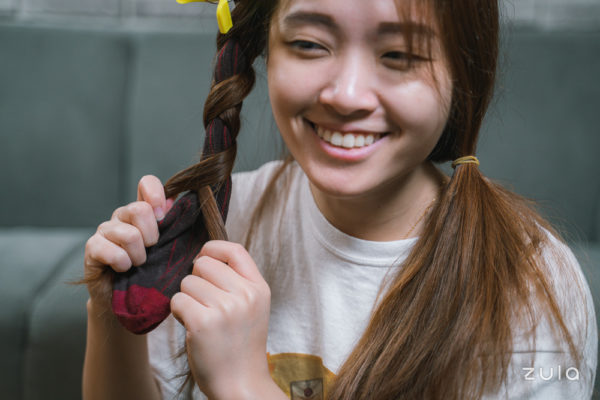
Step 3: From each side of the sock, take a section of hair and wrap around the sock in a criss-cross pattern. Secure the braid at the bottom with a hair tie. Repeat on the rest of your hair.
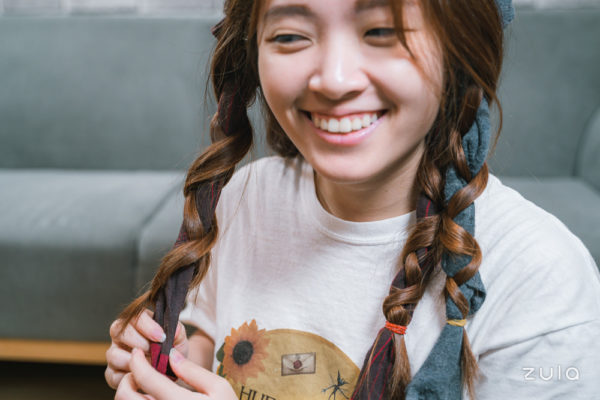
Step 4: Leave the sock braids overnight, or for a few hours until your hair feels dry. Pull out the sock from the bottom for instant waves.
6. For effortlessly tousled locks using a sock bun
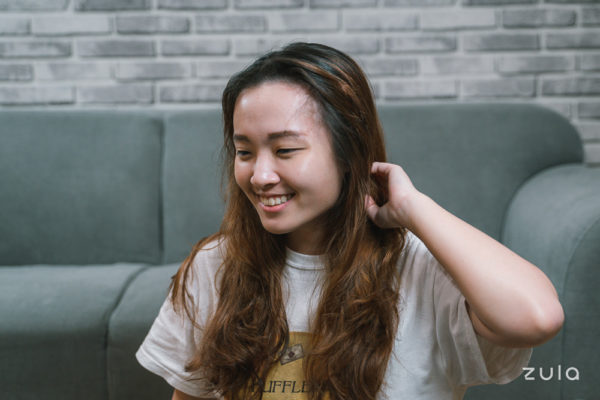
Whether you’re a side, back or stomach sleeper, this overnight hair curling hack will give you textured curls in the morning so you can confidently claim that “I woke up like this”.
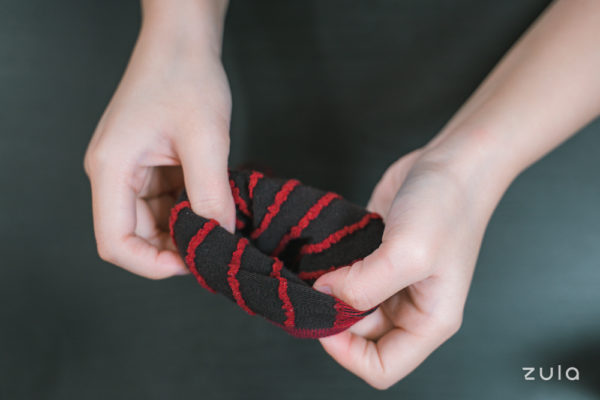
Step 1: Take a long sock and cut the tip where your toes usually touch. Roll the sock up into a doughnut shape.
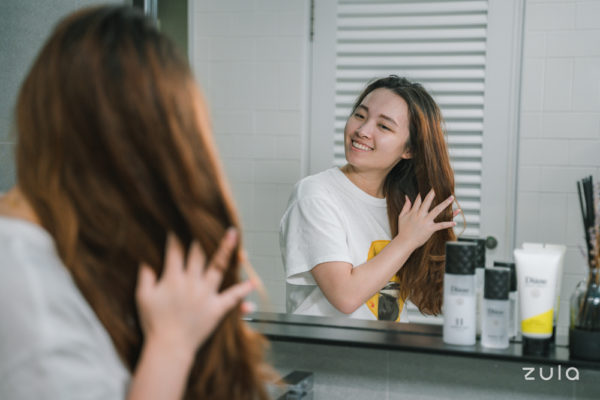
Step 2: Wash and towel-dry your hair. Immediately after, use a hair oil on the ends of your hair while avoiding the roots. This helps to prevent your hair from drying out by sealing cuticles and keeping the moisture in.
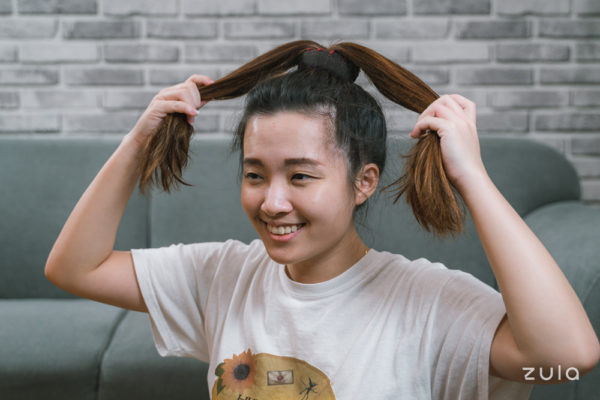
Step 3: When your hair is 70% dry, tie your hair up into a high ponytail. String the sock doughnut through your ponytail and have it rest right where the hair tie is. Section your ponytail into 2 parts if you have long hair, or 3 if your hair is on the shorter side.
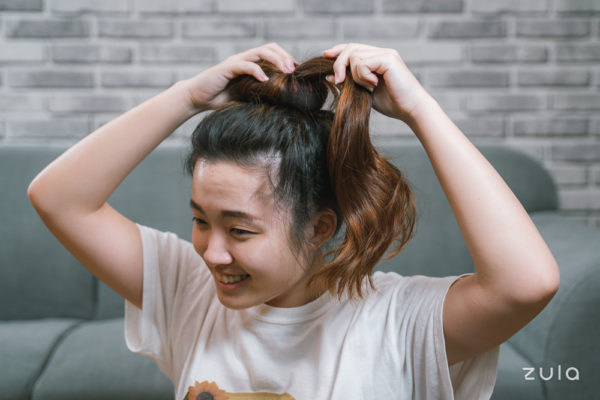
Step 4: Take one section of your ponytail and wrap it around the sock doughnut.
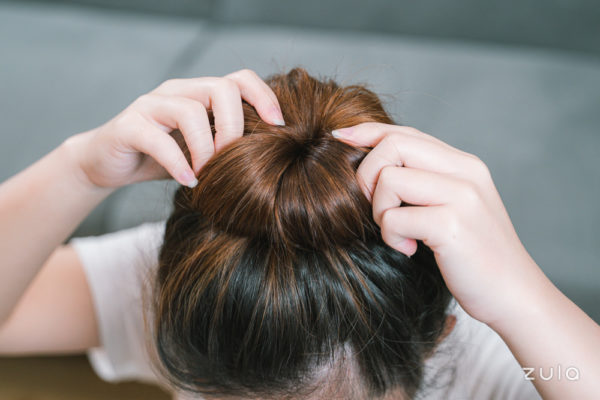
Step 5: Repeat for the other sections of hair to form a bun. Leave the bun on overnight. In the morning, slowly unravel the bun to reveal your curls.
7. For 10-minute curled ends using a plastic bottle and hairdryer
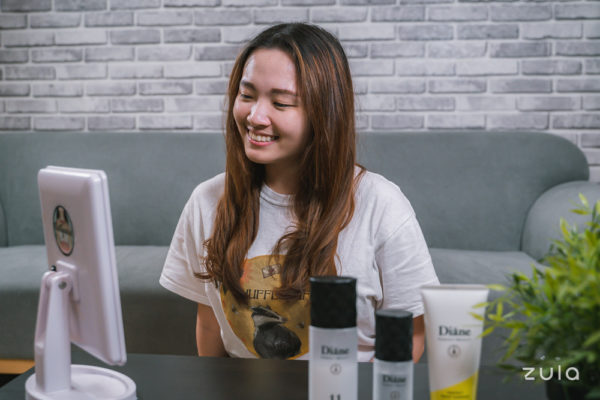
Save time and effort with this plastic bottle and hairdryer hack for immediate curled ends.
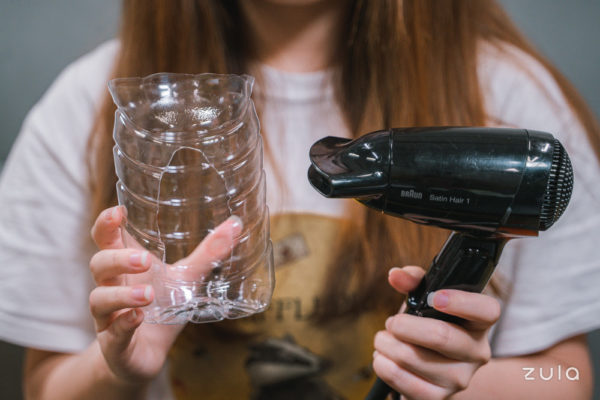
Step 1: Cut a plastic bottle into half. Using the bottom half, cut out an opening on the side as big as the nozzle of your hairdryer.
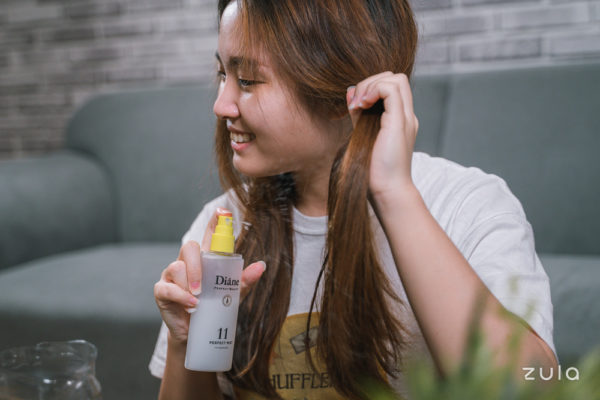
Step 2: Spritz a hair mist to moisturise and protect hair from heat damage before blow-drying.
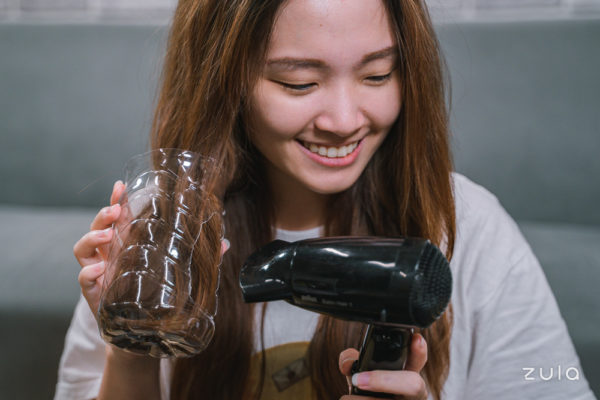
Step 3: Take a section of your hair and insert it into the bottle from the top.
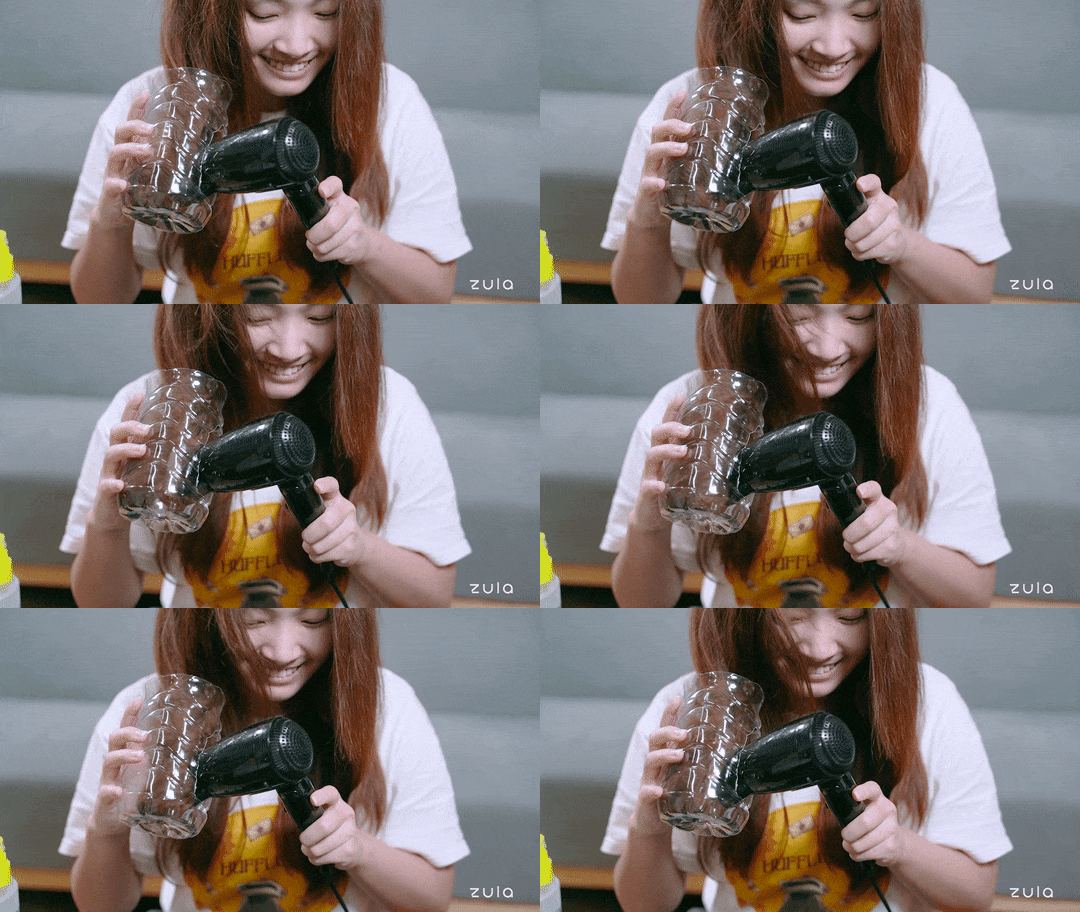
Step 4: Fix the hairdryer into the opening at the side and start blow-drying.
Step 5: Remove your hair from the bottle and voila! Curled ends achieved instantly.
Bonus: For salon-level curls using a hairdryer
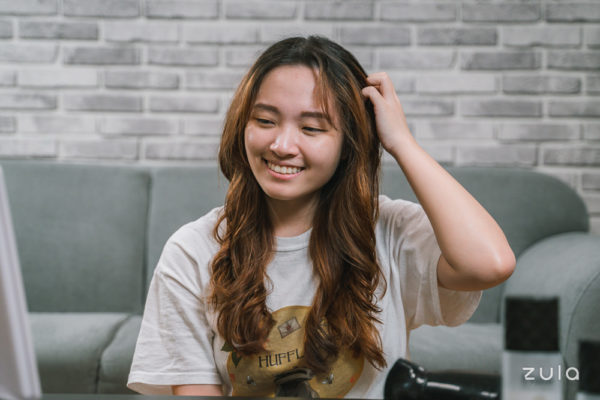
Okay, we’re cheating a little bit here, as this method will require a bit of heat from a hair dryer, but it technically still counts since the goal is to give your curling irons (and your hair) a break. Simulate a professional salon curl with this simple hack in the comfort of your own home.
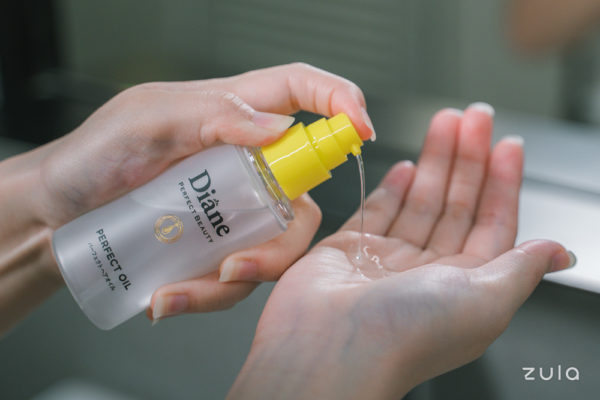
Step 1: Air-dry or towel-dry your hair such that your roots are completely dry while the rest of your hair is about 90% dry. Rub a hair oil into the ends of your hair to seal hair cuticles, lock in moisture and, most importantly, protect your hair from the blow-dryer heat later on.
Step 2: Clip up the top ⅔ of your hair, leaving the hair below your ear exposed.
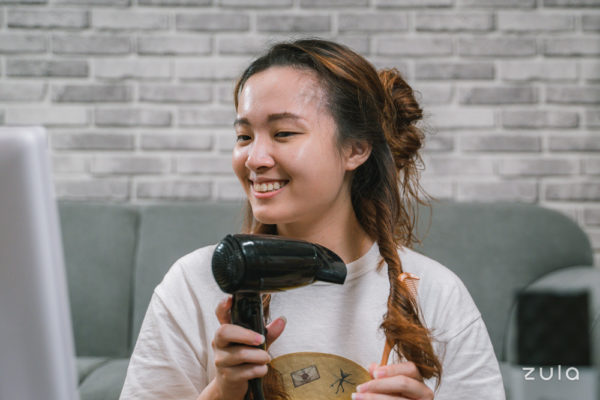
Step 3: Twist the unclipped part of your hair with the hairbrush as you make your way down, while the hairdryer follows behind closely.
Step 4: Once you reach the end of your hair, use your hands to slightly separate the curl for extra fluff and volume in each curl.
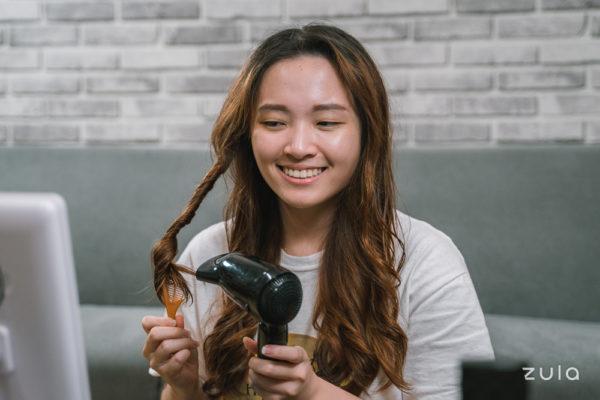
Step 5: Repeat steps 3 to 4 for the rest of your hair, taking out layers of your hair from the clip as you go along.
Moist Diane Outbath Treatment
Before you get down to trying these techniques, you need to have a solid foundation for your hairstyle. In hot and humid Singapore, the key to attaining perfect curls is keeping your hair healthy and moisturised. This makes it more manageable, allowing you to style it in any way you desire when you curl your hair.
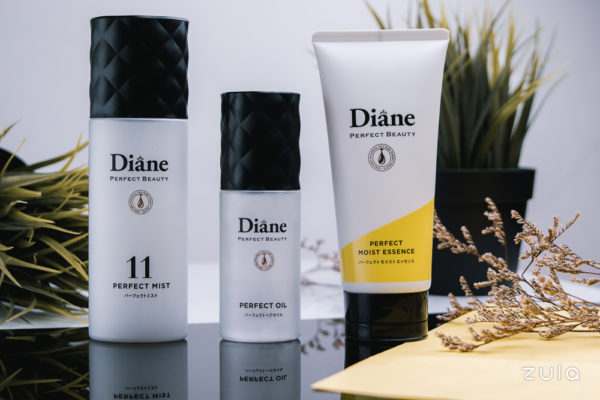 Moist Diane’s Outbath treatment series (from left to right):
11-in-1 Perfect Mist, Perfect Oil and Perfect Moist Essence
Moist Diane’s Outbath Treatments are perfect for the busy millennial with little time for painstakingly long haircare routines. All you have to do is to gently apply the leave-in products on your hair and leave them to work their magic. Moist Diane’s Outbath products come in 3 different consistencies, from a lightweight mist and cream to a thick oil, to cater to various hair types.
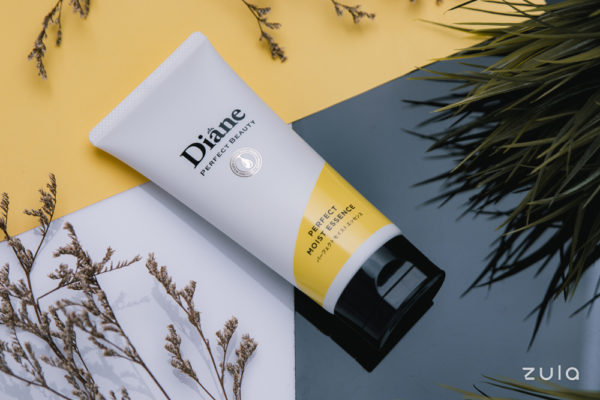
Being under the sun or in an air-conditioned space can both be harmful to your hair. Moist Diane’s Perfect Moist Essence is a leave-in serum that works to nourish and protect your hair from the damaging effects of your environment throughout the day.
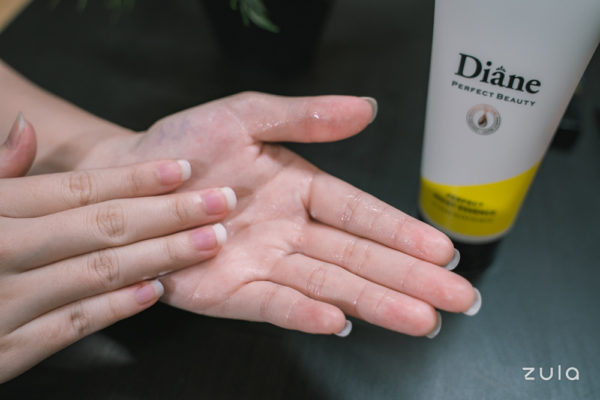
The Perfect Moist Essence lives up to its name with its cream-to-water texture. Rub the cream between your palms till it dissolves into water droplets before applying it to your mane. If you struggle with dry and frizzy hair, but are not into thick creams that weigh you down, this lightweight, non-greasy serum helps you nourish your hair without the usual stickiness.
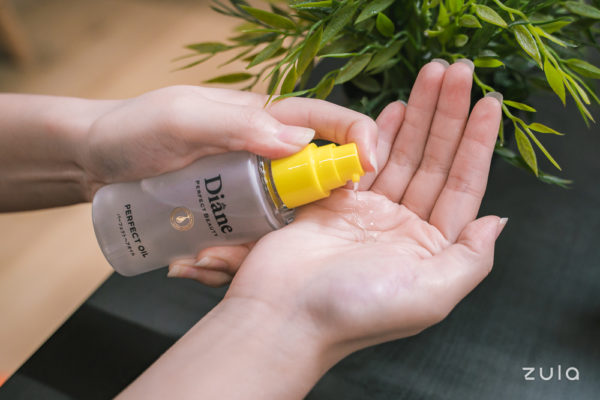
For those with damaged or coarse hair, Moist Diane’s Perfect Oil deeply penetrates the hair surface to give it much-needed moisture and repair your strands from the inside out. Avoid the roots and apply it to damaged ends to revive your locks and give a soft, shiny finish.
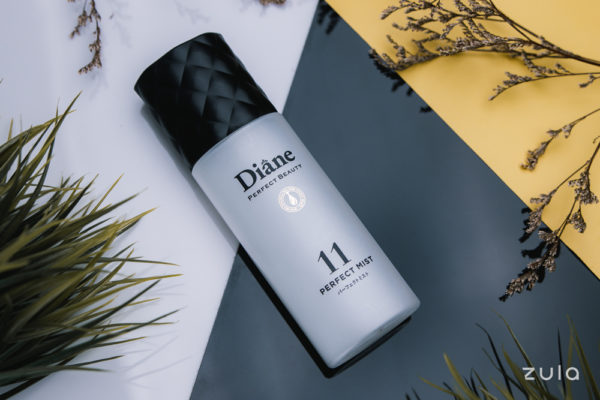
If you’re the kind of girl who would readily switch out a 10-step skincare routine for a shorter process, Moist Diane’s 11-in-1 Perfect Mist is for you. It absorbs quickly into your hair, making it a convenient spray-on treatment that ensures you don’t need to get your hands greasy.
The multipurpose mist condenses 11 benefits into 1 solution to combat common hair concerns like dryness and frizz, as well as provide heat and UV protection. The best part is, it is suitable for all hair types.
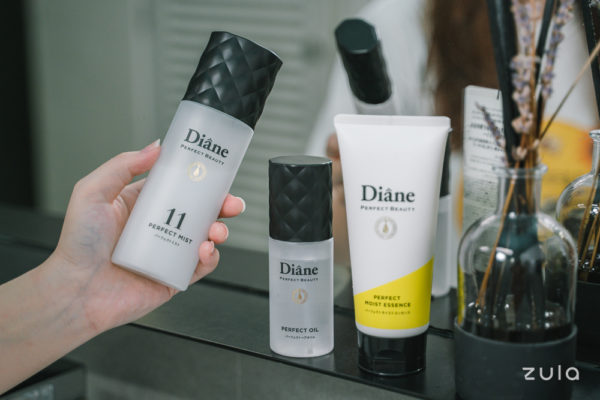
No matter your hair type or hair concern, Moist Diane’s Outbath Treatment products work to nourish and protect your hair, so you can focus on twisting and turning your locks to get the perfect curls for any occasion.
You can purchase the Outbath series from Moist Diane’s Official Shopee store. The products are also available at Watsons, Fairprice and on Moist Diane’s Official Lazada store.
Find out more about Moist Diane’s Outbath Treatment products!
This post is brought to you by Moist Diane.
Photography by Pichan Dela Cruz Christian.

